Installation - Hood Release for John Deere Tractor
Hood Release - Installation Instructions
John Deere 1, 2, 3, and 4 Series compact tractors
Tools Required
- 11mm (7/16") socket or wrench
- A thumbwheel or open-end wrench is preferred over a ratchet - easier to feel when you're at snug
Removal
1
Open the hood
Use your current method one last time.
2
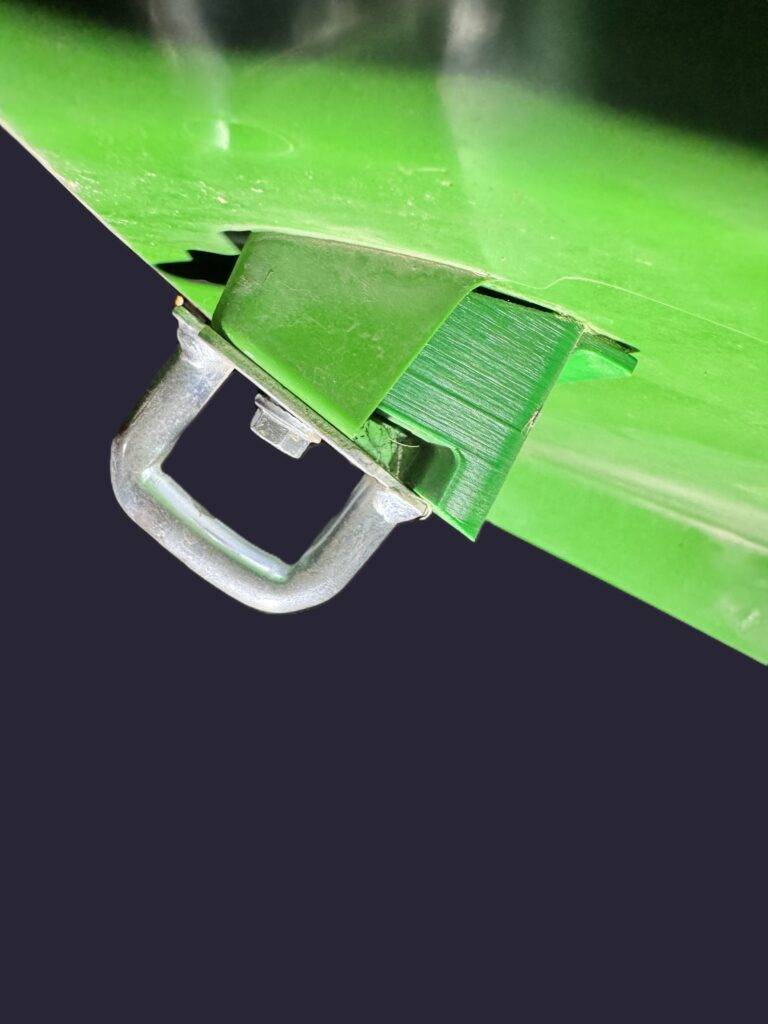
Remove the factory nut
Unscrew the nut on the backside of the mount using your 11mm socket or wrench.
3
Pull out the old mount
Remove the factory mount and spacer (if it has one) completely.
Installation
Go slow - tighten to snug only
The included nut will shear the nub off the mount if overtightened. Thread it finger-tight first, then snug - that's it. If you're using a ratchet, go especially slow. A torque multiplier makes it easy to go past snug before you realize it.
The included nut will shear the nub off the mount if overtightened. Thread it finger-tight first, then snug - that's it. If you're using a ratchet, go especially slow. A torque multiplier makes it easy to go past snug before you realize it.
1
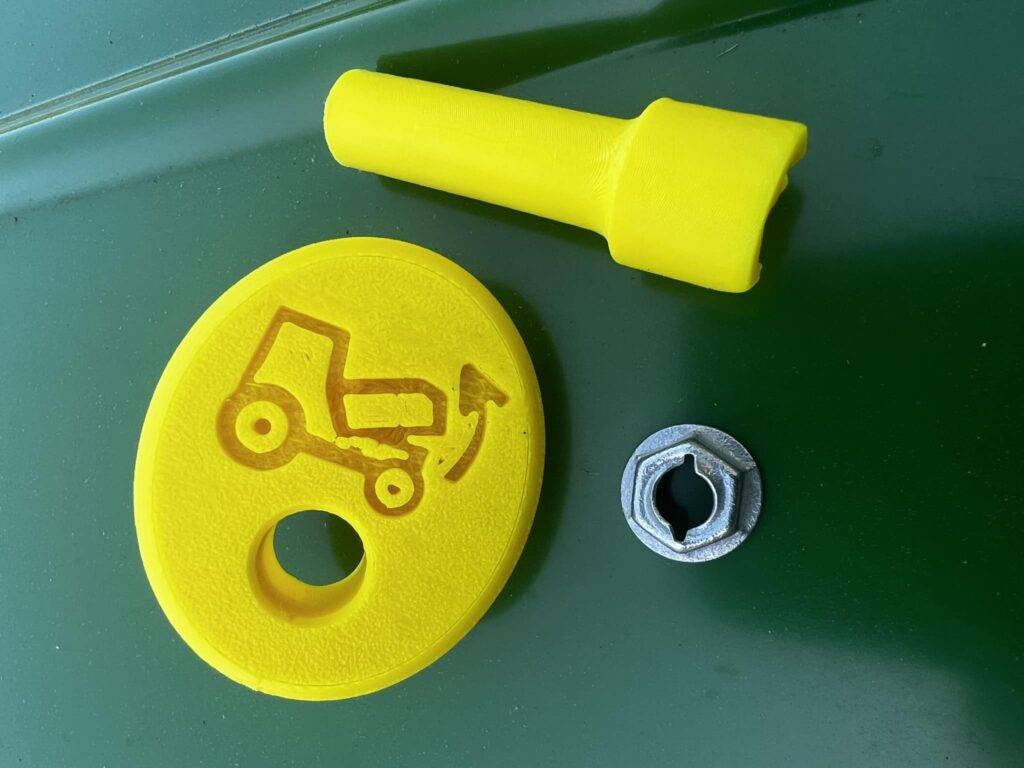
Insert the new mount
Push the new mount fully into the grill opening. It may be a firm fit.
2038R owners
Some 2038R grills have a hole slightly smaller than the mount base. Use a step bit to open it up. Same fix applies to any model where the mount won't seat - use a 9/16" bit to widen the opening slightly.
Some 2038R grills have a hole slightly smaller than the mount base. Use a step bit to open it up. Same fix applies to any model where the mount won't seat - use a 9/16" bit to widen the opening slightly.
2
Install the push button
Hold the front of the mount steady. From behind, insert the push button and push it all the way into the mount.
3
Seat the hood rod
Install the hood rod into the push button. Two methods - use whichever works for your model:
Method A - Usually required for 3 and 4 Series
Pull the mount and button assembly partway out of the grill. Insert the hood rod into the push button with the slot facing the front of the tractor. Push the mount back fully into the grill.
Pull the mount and button assembly partway out of the grill. Insert the hood rod into the push button with the slot facing the front of the tractor. Push the mount back fully into the grill.
Method B - 1 and 2 Series
Twist the push button so the slotted side faces the front of the tractor. Hold the front of the mount with one hand. With your other hand, grab the end of the hood rod and push it toward the front as if opening the hood - this gives you clearance to align the rod with the slot. Slowly release pressure and let the rod seat inside the button.
Twist the push button so the slotted side faces the front of the tractor. Hold the front of the mount with one hand. With your other hand, grab the end of the hood rod and push it toward the front as if opening the hood - this gives you clearance to align the rod with the slot. Slowly release pressure and let the rod seat inside the button.
Watch the rod
If you push the factory rod too far during removal or while working it into the button, it can drop into the engine cavity. Retrieving it usually means pulling things apart you didn't plan on touching. Take your time with this step.
If you push the factory rod too far during removal or while working it into the button, it can drop into the engine cavity. Retrieving it usually means pulling things apart you didn't plan on touching. Take your time with this step.
4
Thread on the nut and test
Thread the nut onto the nub finger-tight, then snug it down gently. Test the button operation before closing the hood.
Hood won't latch after install?
This is an occasional fitment issue - the hood rod from the factory is slightly longer or shorter than expected, and the button's interior depth controls how far the rod can relax when not pressed. Fix: use a 1/4" drill bit to drill the button hole slightly deeper (about 1/8"). Takes 2 minutes. This is covered in the included instructions.
This is an occasional fitment issue - the hood rod from the factory is slightly longer or shorter than expected, and the button's interior depth controls how far the rod can relax when not pressed. Fix: use a 1/4" drill bit to drill the button hole slightly deeper (about 1/8"). Takes 2 minutes. This is covered in the included instructions.
Button sticking in the open position?
Normal on new installs. Closing the hood releases it. It loosens up with normal use.
Normal on new installs. Closing the hood releases it. It loosens up with normal use.