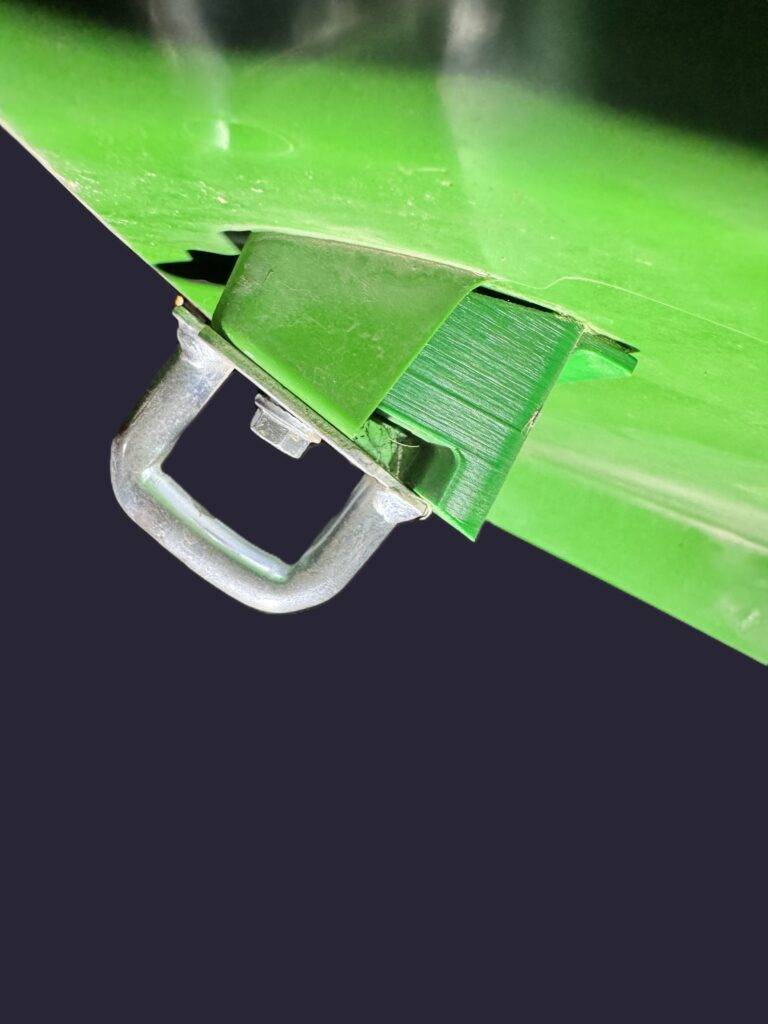
How to Install the PTO Extension Lever

The PTO Extension Lever mounts onto your existing factory PTO lever sheft. No cutting, no drilling, no modification. About ten minutes with the tractor parked and the engine off. Here is the walkthrough.
Tools you need
- Standard hand tools (lockjaw pliers preferred).
- A clean rag.
Before you start
- Park on level ground.
- Engine off, key out.
- Parking brake engaged.
Step 1: Locate the factory PTO lever
Locat your PTO lever. You will need to remove the factory plastic handle from the PTO lever shaft using the lockjaw pliers. Clean the area with the rag.
Step 2: Fit the Extension Lever
Slide the Extension Lever over the factory lever shaft. You can use a rubber mallet to tap it into place.
Step 3: Test before starting the engine
- Cycle the new lever through the full travel. It should move with the same resistance as the factory lever and detent cleanly in both positions.
- Confirm the lever clears the seat and any plastic trim through its full travel.
Step 4: Test with the engine running
Start the tractor at low idle. With no implement attached, engage and disengage the PTO with the new lever a few times. You should hear and feel a clean engagement each time.
Reverse the install
If you ever want to remove the Extension Lever (selling the tractor, troubleshooting), slide it off. The factory lever is unchanged underneath.
Common questions
- Will it interfere with the seat? No, the extension positions toward away from the seat hand and clears the seat and armrest on standard configurations.
- Does it void the PTO warranty? The Extension Lever does not modify the factory PTO mechanism. It slides onto to the existing lever. Check your warranty terms if you are concerned.
Related
Get yours
Manufactured in the USA from globally sourced materials. Ships worldwide. Shop the PTO Extension Lever.