Installation - Hood Saver for John Deere Tractor
Hood Saver - Installation Instructions
John Deere 1023E, 1025R, 1026R, 2025R, 2032R, 2038R
Tools Required
- 10mm socket
- Flat head screwdriver or small pry bar
- Sandpaper (light grit)
- Permanent marker
- Isopropyl alcohol and lint-free cloth
- Eye protection and impervious gloves
- Well-ventilated area (for glue application)
About the adhesive
Plastic glue (included) is recommended for all installations. It is required if your hood tab is already cracked or broken. The glue is specifically sourced to bond with your hood material. If you prefer two-part epoxy, JB Weld ClearWeld has been tested and works as an alternative.
Plastic glue (included) is recommended for all installations. It is required if your hood tab is already cracked or broken. The glue is specifically sourced to bond with your hood material. If you prefer two-part epoxy, JB Weld ClearWeld has been tested and works as an alternative.
1
Prep the Hood
- Open the hood.
- Remove the two bolts securing the hood latch striker to the underside of the hood.
- Use a screwdriver or small pry bar to remove both panel nut inserts.
- Clean the hood mounting surface with isopropyl alcohol (or plain water).
- Lightly scuff the cleaned area with sandpaper to help the adhesive bond.
- Clean again with alcohol and let the surface dry completely before continuing.
2
Test Fit - No Glue Yet
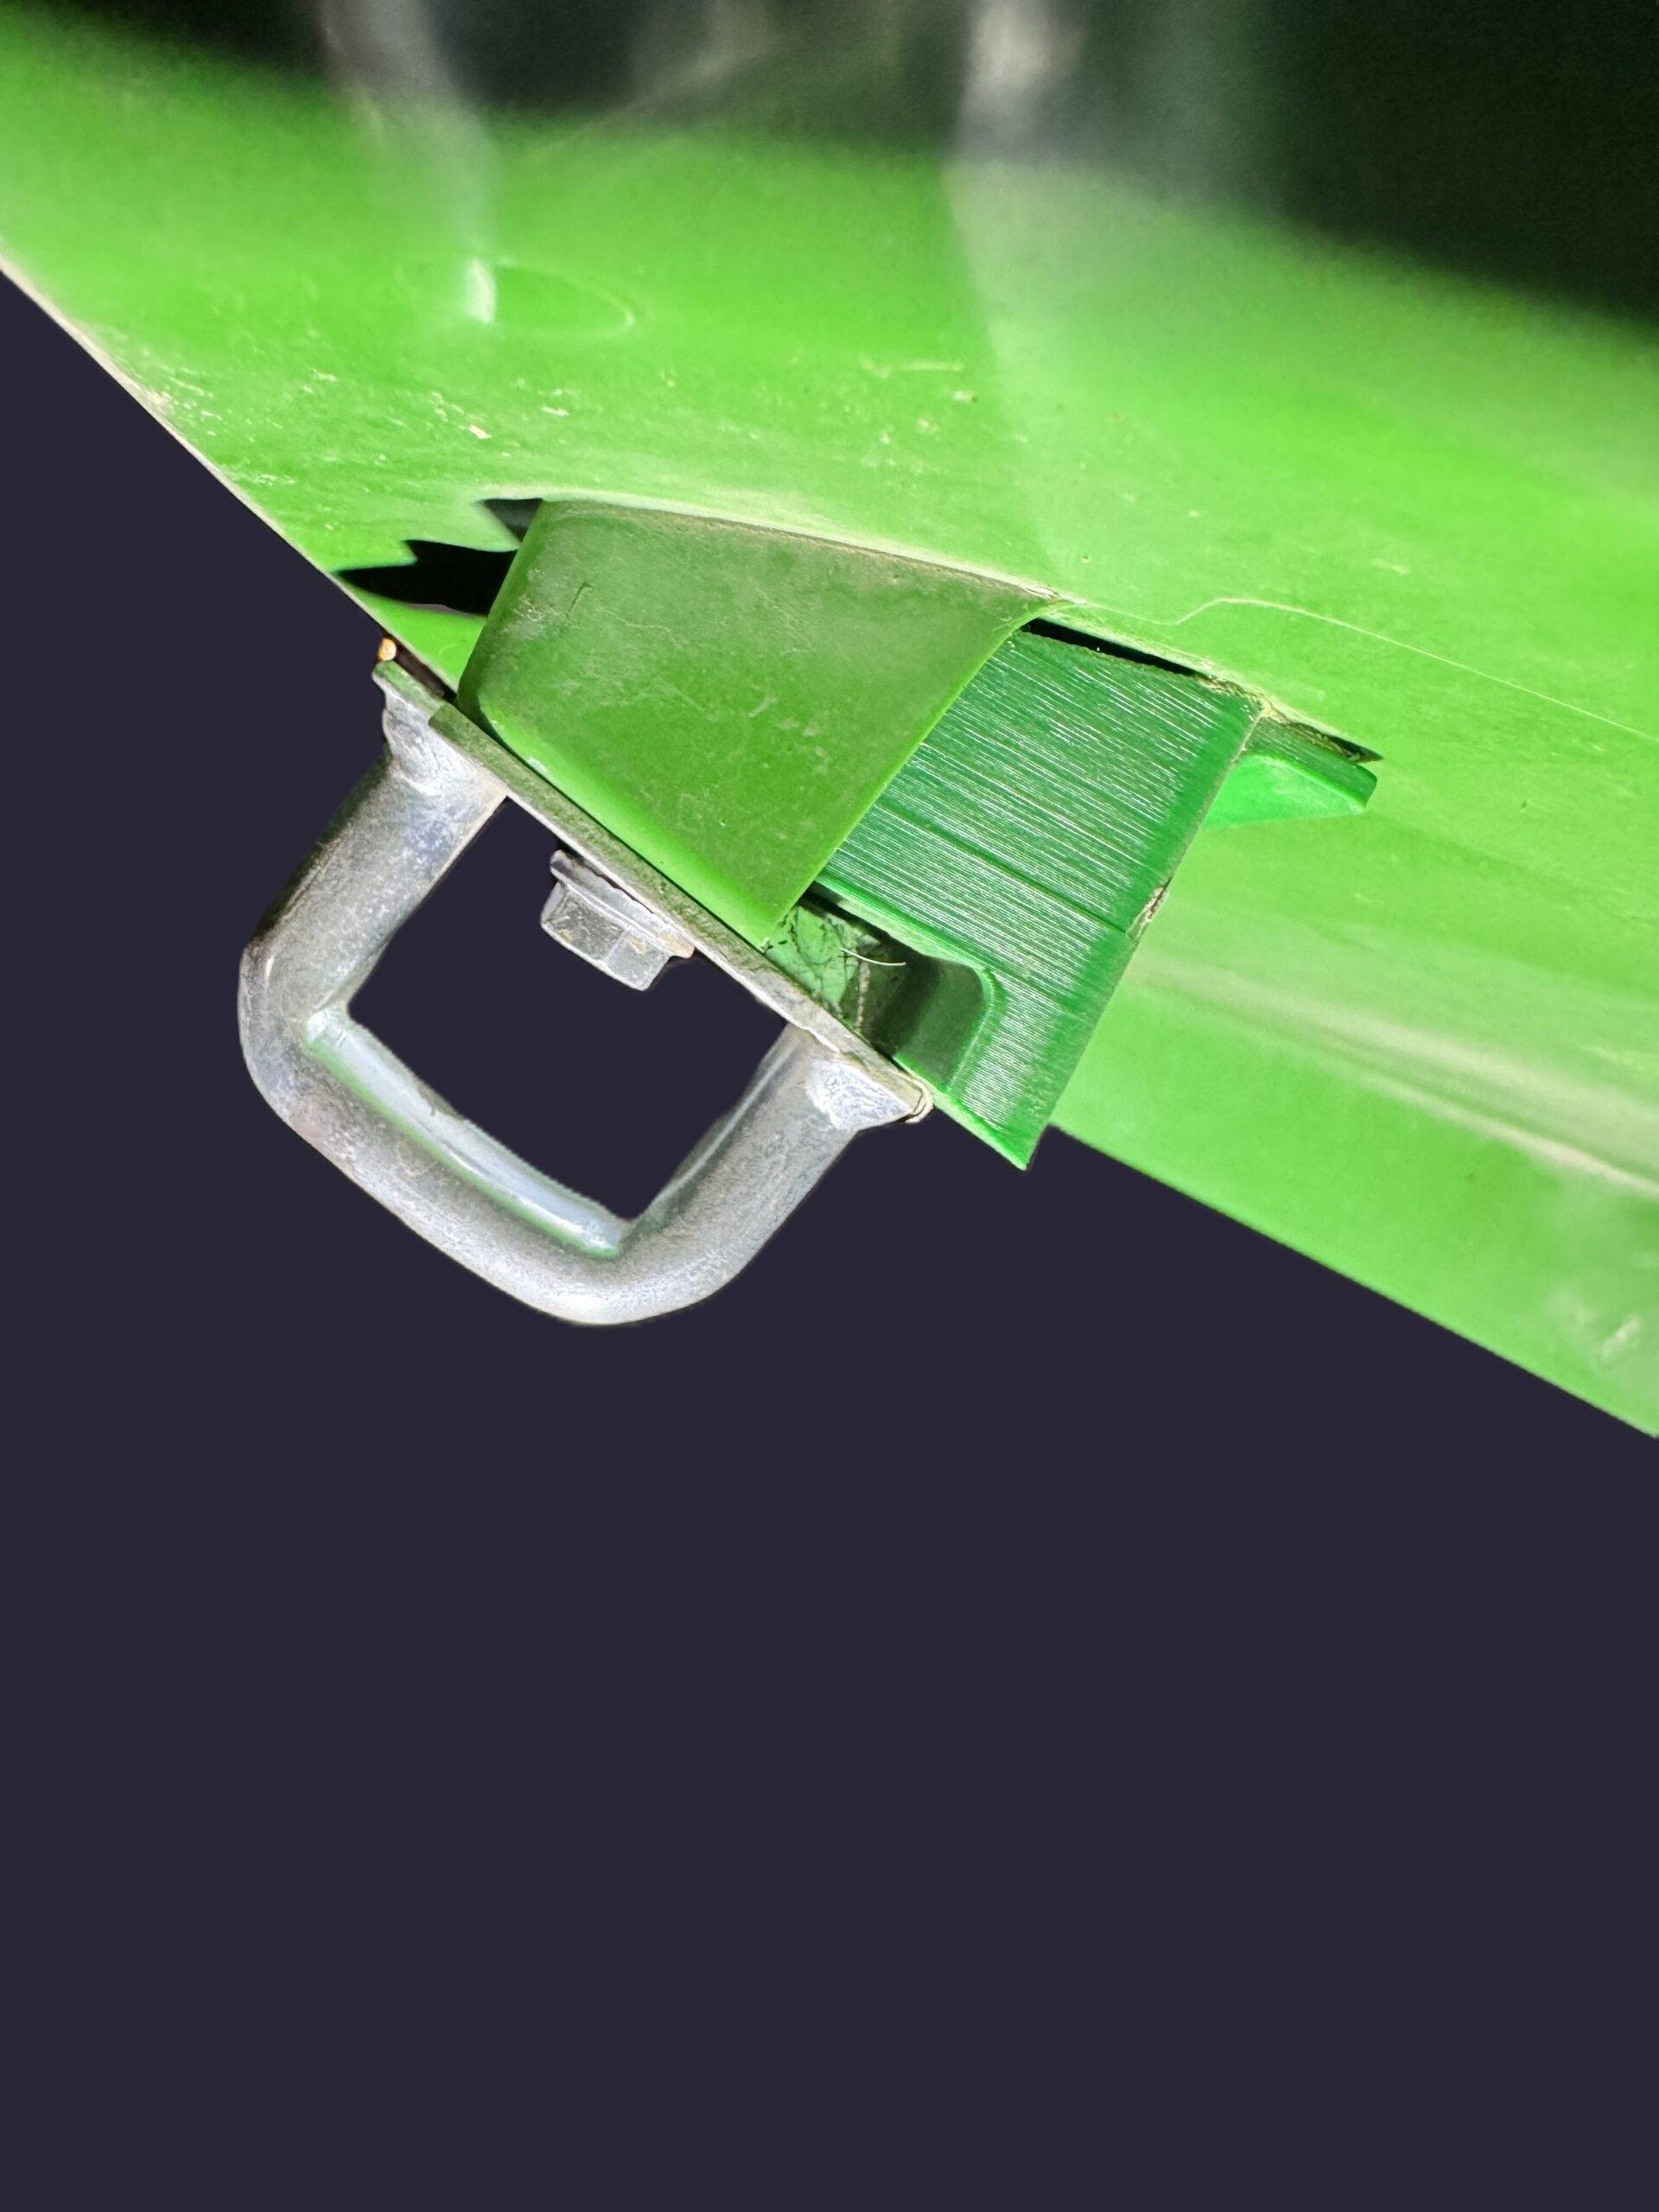
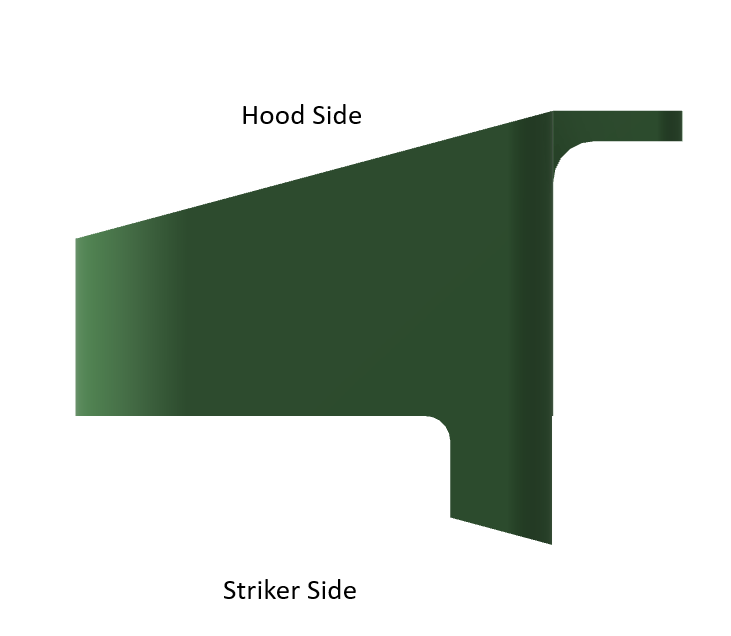
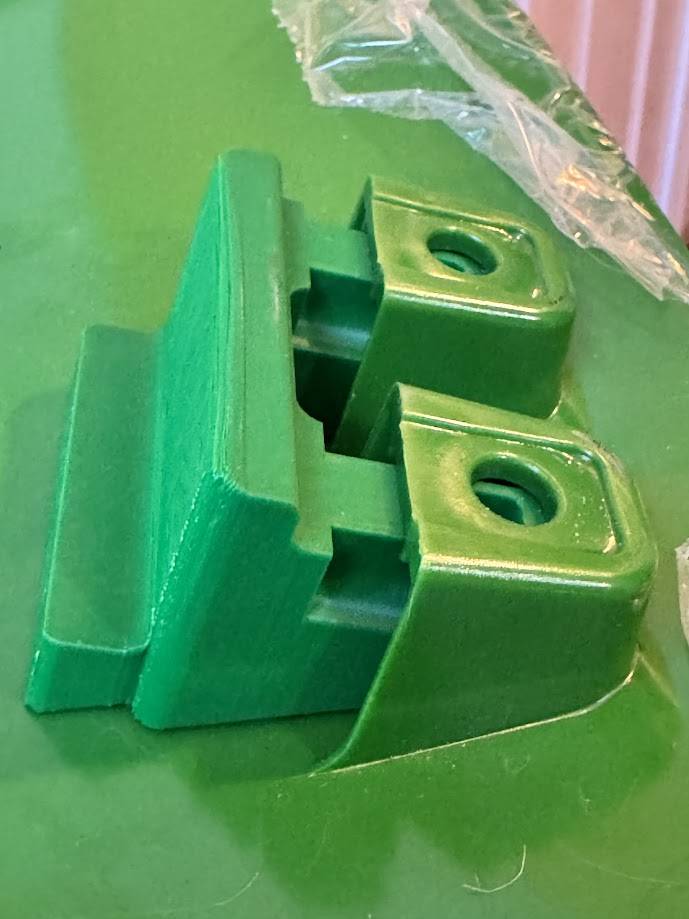
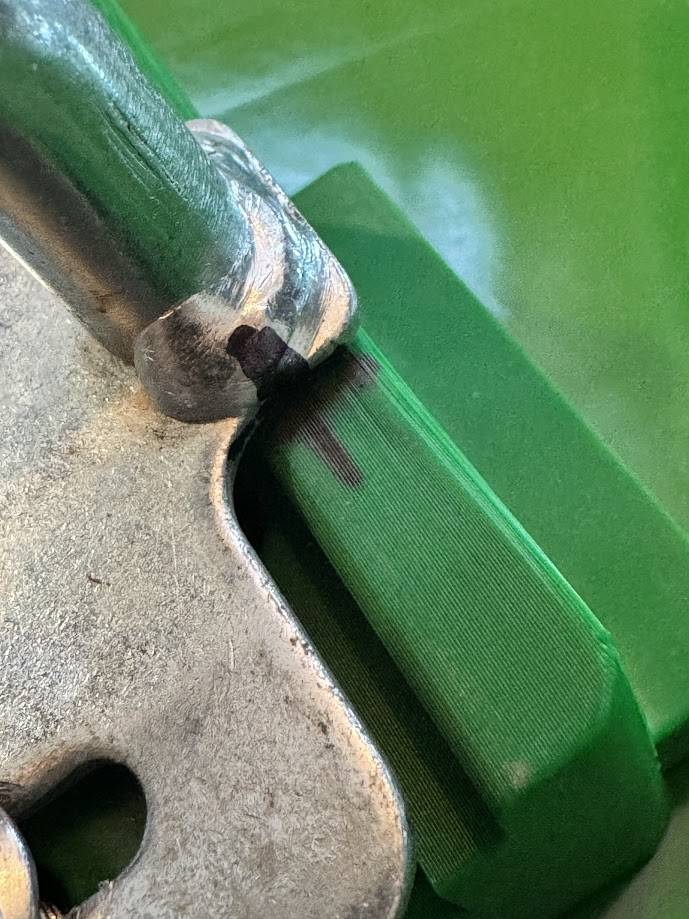
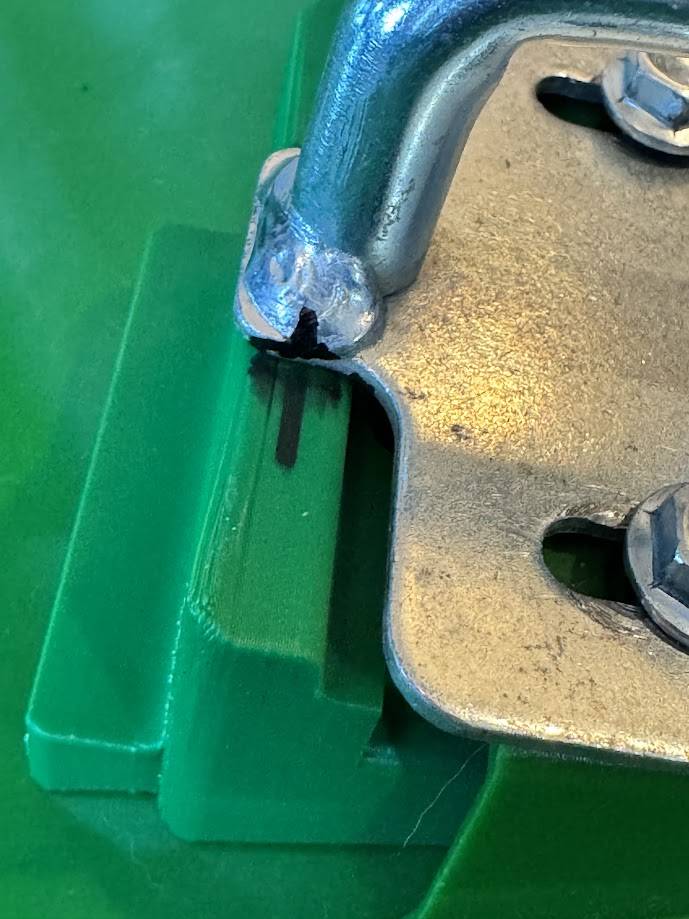
- Insert the Hood Saver into the mount. The flat side faces the hood.
- The striker will rest on the shelf side of the Hood Saver.
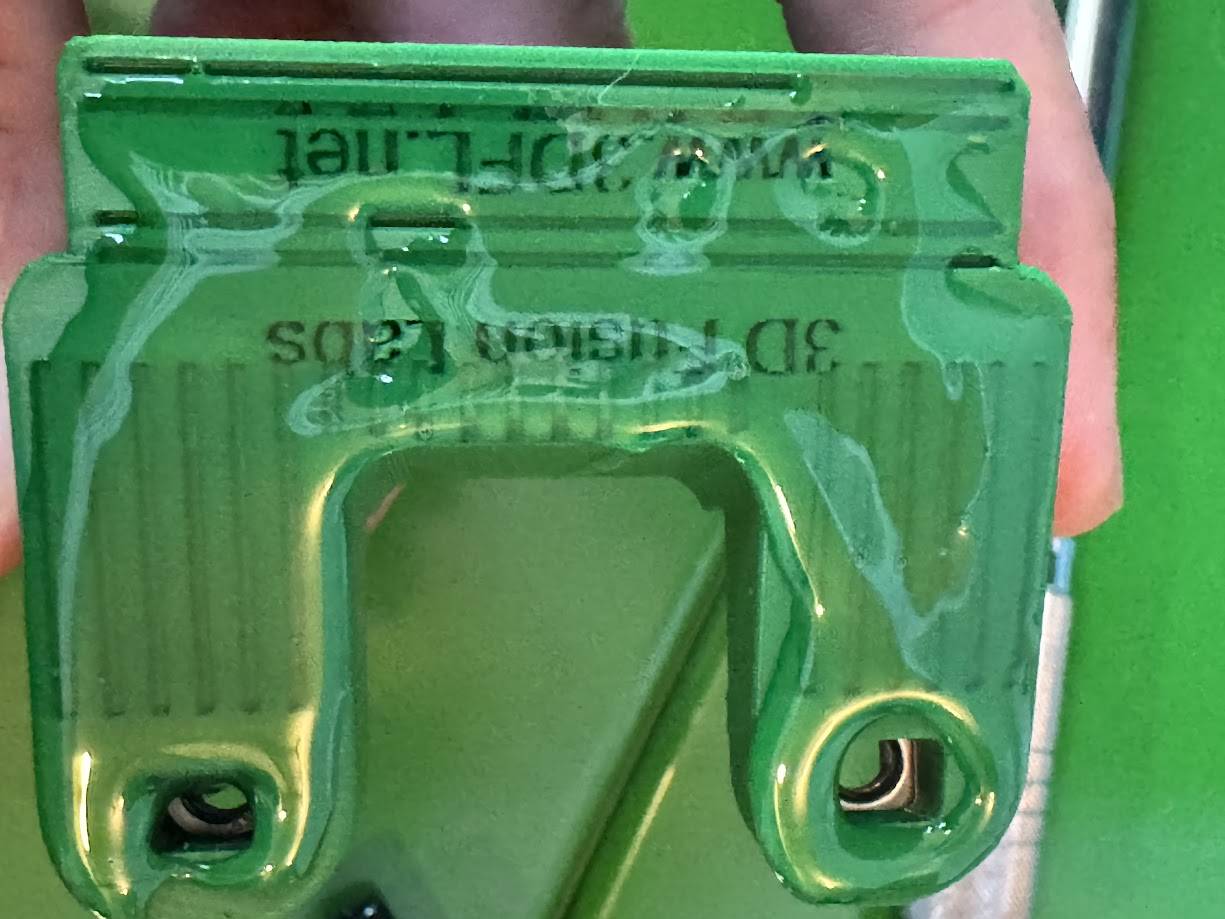
- Reattach the hood striker to the Hood Saver mount using the supplied bolts.
- Tighten just enough so the mount can still be repositioned with some effort.
- Slowly lower the hood and check alignment.
- Adjust left/right and front/back until the latch engages cleanly.
- Open and close the hood a few times to confirm smooth operation.
- Mark the final position with a permanent marker for reference during glue-up.
3
Glue the Mount
- Disassemble the hood striker from the mount.
- Apply glue liberally to the flat side of the mount.
- Place the mount back in position, using your marker lines to align it.
- Thread the bolts into the mount to keep the holes aligned while you hold it in place.
- Hold the mount firmly for 30 seconds to let the glue set.
- Let the mount dry for at least 2 hours before continuing to Step 4.
4
Final Assembly
Do not overtighten
Place the lock washer on the bolt, then finger-tighten first. Finish with a wrench - typically 1 to 1.5 full turns after the bolt makes contact with the mount. Do not go past 2 turns. Do not use an impact driver. If you hear plastic cracking, you've gone too far.
Place the lock washer on the bolt, then finger-tighten first. Finish with a wrench - typically 1 to 1.5 full turns after the bolt makes contact with the mount. Do not go past 2 turns. Do not use an impact driver. If you hear plastic cracking, you've gone too far.
- Reattach the hood striker to the Hood Saver mount.
- Place lock washer on bolt, finger-tighten, then snug with a wrench. Short Hood Saver: re-uses the factory bolts.
- Test by opening and closing the hood. Adjust the hood striker position as needed for clean latch engagement.
Questions or need help with your install?
We answer our own messages. If something's not fitting right, reach out before you force it.